

Josh Nevett
2026 Skoda Karoq review
4 Minutes Ago
New to the road? This step-by-step guide on changing a tyre will help you handle roadside emergencies with confidence.

Marketplace Journalist


Marketplace Journalist
“Do you know how to change a tyre?” is one of the oldest questions in the book.
In most cases people don’t know how, but there’s no time like the present to learn. Our guide on how to change a tyre includes everything you need to know.
100s of new car deals are available through CarExpert right now. Get the experts on your side and score a great deal. Browse now.
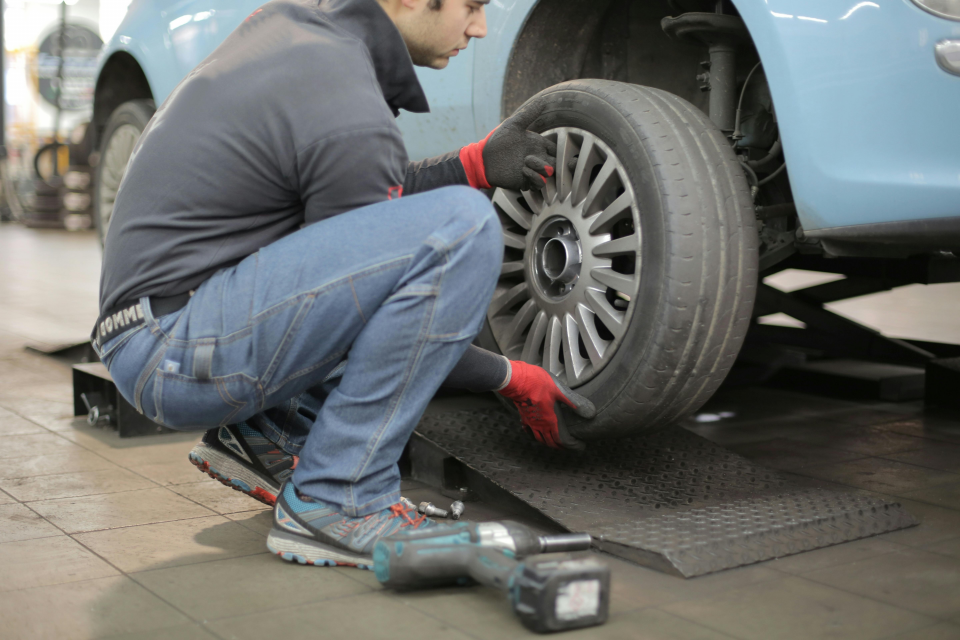
Here’s what you’ll need to change your tyre in a pinch:
Not all cars have the same equipment in the boot. It’s worth double checking whether your vehicle has the above equipment in the boot before setting off on a long road trip.
If you don’t have a spare tyre of any kind – full-sized or spare saver – your vehicle may have a tyre repair kit instead.
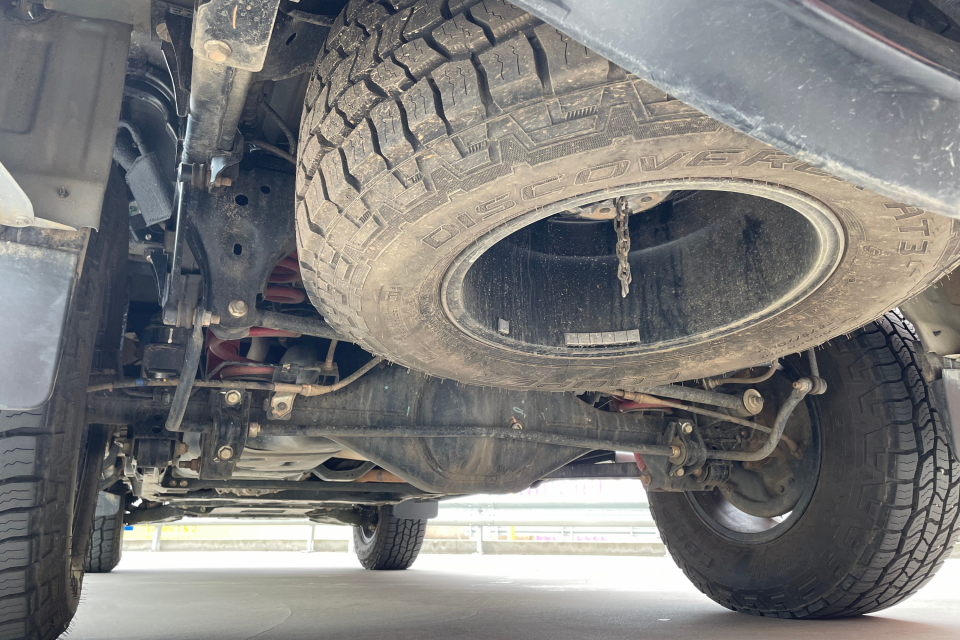
In most vehicles, the spare wheel is located under the boot floor.
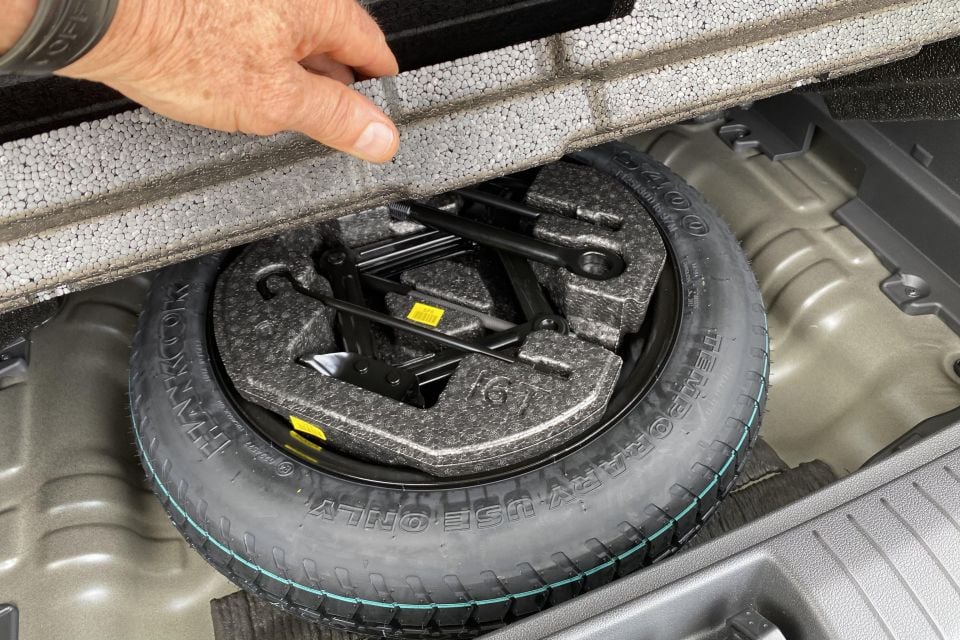
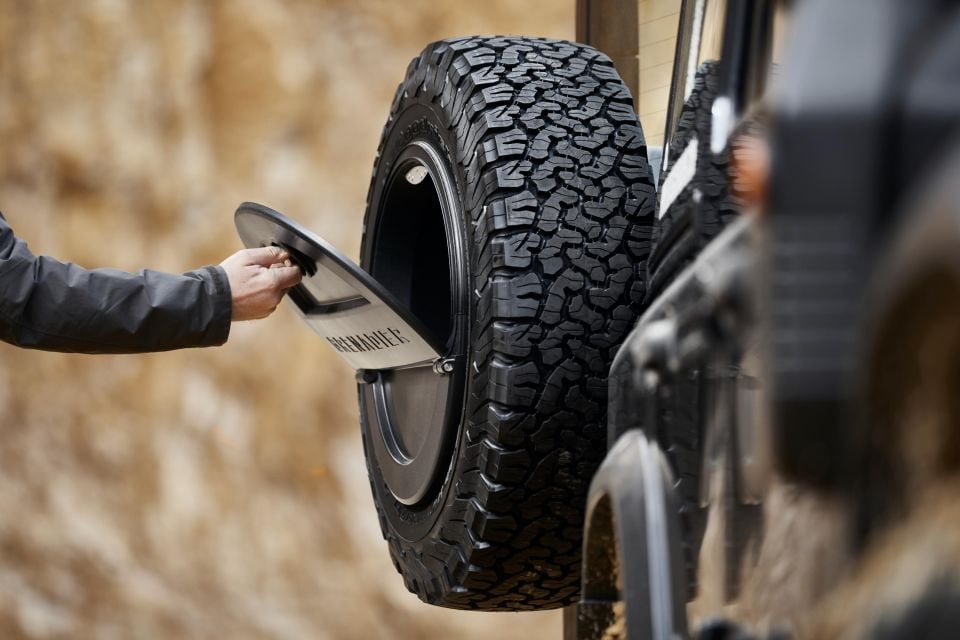
However in dual-cab utes, or some large four-wheel drives, it’s not unusual to have the spare instead mounted beneath the rear of the vehicle or on the back of the vehicle.
Rather than making things up on the fly, it’s best to lay out everything you’re going to need ready for action.
From there, follow these steps.
Even if your tyre is flat, limping a few metres away from a main road or danger is critical for you, and for other road users.
Moving a few meters away from a busy road where possible will put you further away from passing traffic, reducing the risk of a collision.
It’s also important to never turn your back on traffic and to keep your tools and parts in a safe, clear space.
If you use the Waze navigation app, be sure to log that you’ve pulled over so other motorists can be aware that there’s a car stopped ahead.
You also need to ensure that your vehicle is on flat, sturdy ground. Any elevation changes, or things like soft gravel, will impact the ability for your jack to lift the vehicle safely.
Place all your equipment in a safe space before you begin. You want to make sure you have all your tools and parts ready before changing the wheel.
If you’re missing any crucial tools, we suggest contacting roadside assistance if possible.
Some vehicles have their wheel nuts hidden – remove any covers to expose the nuts before loosening them.
Using your tyre wrench, loosen the wheel nuts by turning them counterclockwise while your vehicle is on the ground. It may take more force than you expect to get this process going; it’s not uncommon to see people stomping on their tyre wrenches to get the nuts started.
Do not remove the nuts at this point, just loosen them.
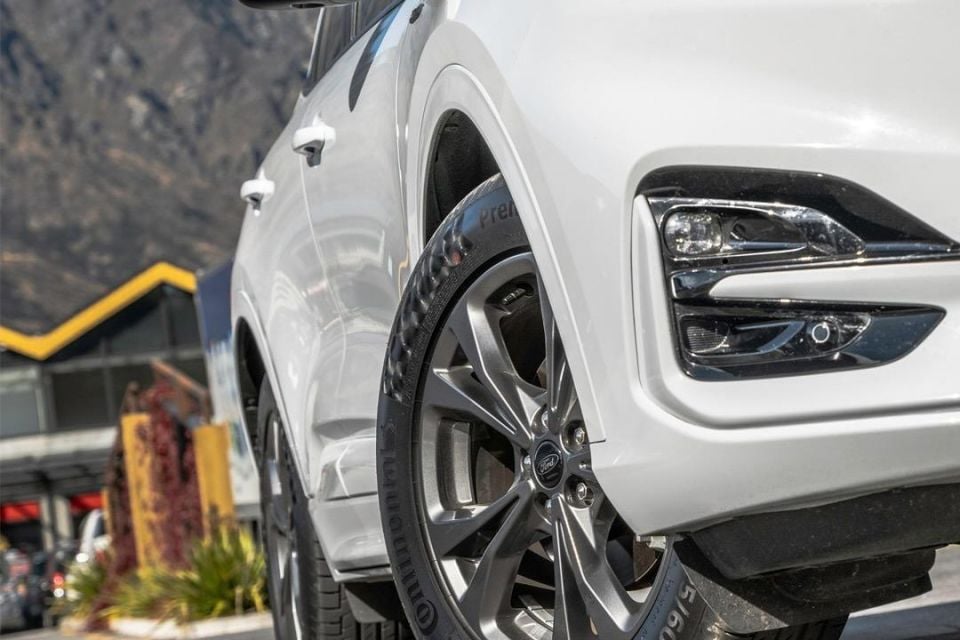
Refer to your owner’s manual for your vehicle’s jacking points.
Jacking points are spots where you can safely place the jack to elevate the vehicle – these spots are stronger than others, and can support the vehicle’s weight without damaging the bodywork.
Use the jack to raise the vehicle to the point the tyre is just off the ground. It may take more work to do this than you’d expect, as the car’s suspension will keep the wheel grounded after the body starts lifting.
If your vehicle has air suspension you will need to lift the vehicle much higher than expected until the tyre is off the ground. Some vehicles with air suspension may also have a lock out feature to prevent the damper from expanding to reduce the amount of lifting required.
Once your vehicle is elevated, carefully remove the wheel nuts and keep them close by.
After unscrewing the wheel nuts, remove the flat tyre and place it on its side so it doesn’t roll away. The wheel may be heavier than you’d expect, especially in the case of the massive rolling stock becoming standard on large SUVs and utes.
You can also put the spare wheel between the vehicle’s body and ground as a safeguard for the vehicle if the jack fails.
Put the spare wheel on with the uncovered wheel bolts.
Place the wheel back on and tighten the nuts, first by hand and then as much as possible without the wheel spinning. Tighten these in a star shape to evenly spread load before tightening all the bolts properly.
Use the jack to lower the vehicle to the ground, then tighten the wheel nuts completely.
Pack up all your equipment and double check that nothing is left behind.
8. Store the wheel fitted with the flat tyre
In some cars, you’ll be able to fit the flat tyre in the space previously reserved for the spare wheel. In others, you’ll need to stow it in the boot.
Be careful to not cause more headaches by failing to stow everything you’ve used to change the tyre; jacks and tyre wrenches are dangerous projectiles when not stored carefully.
Once you’ve changed the tyre, you might need to also change your driving habits.
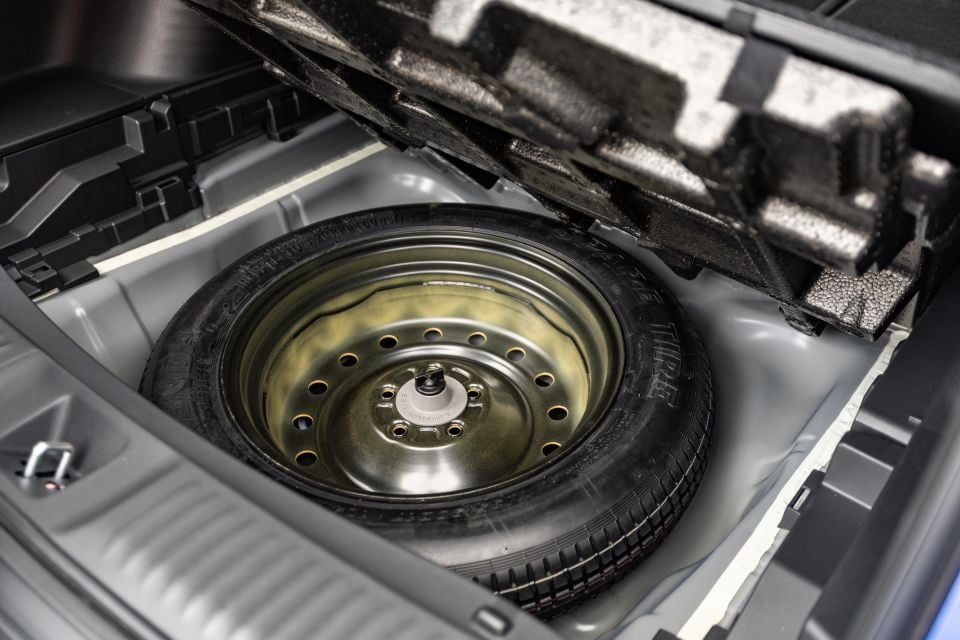
Although full-sized spare wheels allow you to drive just like you were before the flat, space savers come with a range of special conditions.
Along with speed limits (often 60km/h or 80km/h), space savers shouldn’t be fitted to the front wheels of your car.
That means you’ll need to remove a flat front tyre, remove an inflated rear tyre, refit the inflated full-sized wheel to the front axle, and fit the space saver to the rear.
If you have the right equipment, check the new tyre’s air pressure. If not, safely travel to a nearby petrol station and check it there. For extra caution, you can take your car to a mechanic to have them check your work.

If you have replaced your wheel with a space saver, you’ll need to have your existing tyre patched or replaced as soon as possible.
If you’ve fitted a full-sized spare wheel, you’ll still need to have the original tyre fixed or replaced.
Paying attention to the quality of your tyres will help you determine when it’s time for a replacement.
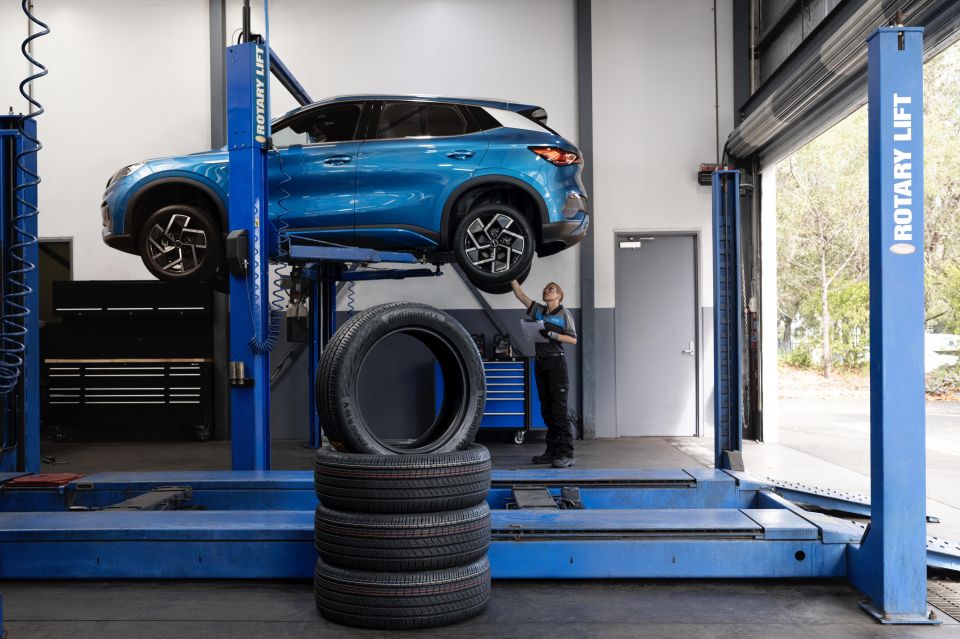
Robert Deane, franchisee at JAX Tyres and Auto Caulfield South, shares his expert tips for knowing when to change your tyres:
Tyra Lawler-Cass is a marketplace journalist based in Sydney, Australia. She studied PR & Social Media and Creative Writing at Macquarie University and has a passion for fast, luxury cars. She loves to travel and is always down to dine out.


Josh Nevett
4 Minutes Ago


William Stopford
8 Hours Ago


Damion Smy
9 Hours Ago


William Stopford
9 Hours Ago


Damion Smy
10 Hours Ago


CarExpert
11 Hours Ago