
Damion Smy
Xpeng X9: Distinctive electric people mover nears Australian launch
The second model in Xpeng's local lineup will be a high-end seven-seat electric people mover, with details and pricing expected next month.
2 Hours Ago
Taking decent photos of your car could make you hundreds or even thousands of dollars richer come sale time – and help attract a better buyer who isn’t out to waste your time.

Contributor
Contributor
Taking decent photos of your car could make you hundreds or even thousands of dollars richer come sale time – and help attract a better buyer who isn’t out to waste your time.
In fact, the photos you use on your advertisement are critical. A great, clear, nice set of photos instils confidence and trust in prospective buyers – it says if you bothered to do that, you must have bothered to take good care of the car, too (which, of course, is true…)
If you want to sell your car, get in touch with a CarExpert New Car Specialist on 1300 587 992.
On the flip-side, there’s a special place in purgatory for people who sell cars with one photo that looks like it was taken with a potato. In a world where everybody has an amazing camera in their pocket – and where websites allow practically unlimited high-res photo uploading – such a sin against car-selling is simply unacceptable.
We assume if you’re reading this, you’re already far from any danger of that. This comprehensive guide will ensure you’re a car-selling angel – and help make the car-selling process that little bit easier, and hopefully more fruitful.
1. Make sure it’s clean
This could be the most obvious first step, but it’s probably the most important. A clean car is a cared-for one – and cars that have been looked after, are worth more. Either get the car detailed or do it yourself, but it will make a huge difference.
2. Make sure you have a decent camera
And by that, we mean any smartphone that’s only a few years old. Modern smartphone cameras are incredible – and all you need for taking photos of your car.
By all means, if you want to use a digital single-lens reflex (SLR) with enough megapixels to fill a billboard, go for it. It will only make your photos look even better again. If you don’t own one, you can always borrow one.
If you use your phone, turn it sideways and take photos in landscape mode as well as portrait if you want to use it on some social channels.
3. Pick a plain background
Find somewhere with the most minimal and plain background possible – the idea is to focus all the attention on your shiny four-wheeled item for sale.
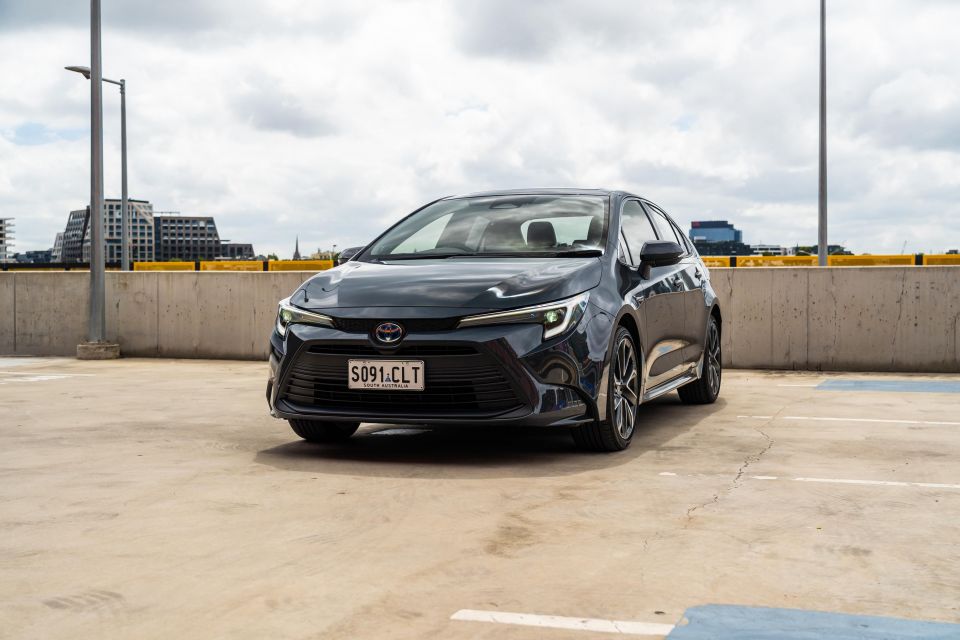
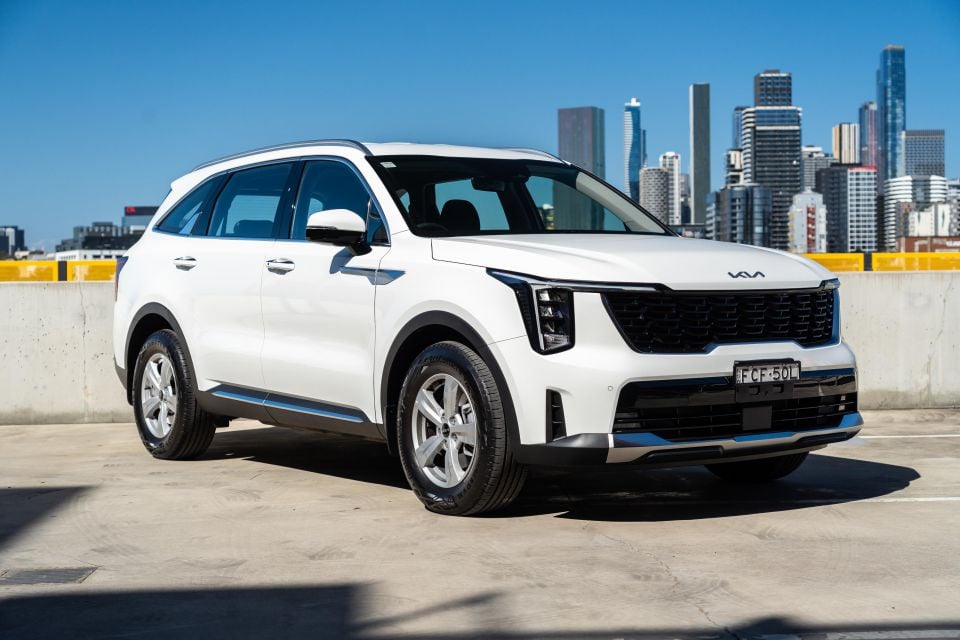
An open park with a leafy backdrop could be nice; and rooftops of multi-storey carparks always work. Industrial estates with contemporary, new office buildings as backgrounds can look great – especially after hours, when nobody is around.
If you’re in the bush, a driveway is ideal; or one of those country roads that has barely any traffic. Boat ramps can look cool, too. Unless your handbrake is dodgy, of course.
Avoid busy backgrounds that cause lots of reflections. Avoid parking your car on grass – a concrete, bitumen or even gravel surface is always preferable. Grass can look cheap and gross.
Of course, if all you have time for is an on-street parking space, that’s more than okay, too. Just make sure you’ve got plenty of space to take photos from all angles.
4. Make sure the lighting is consistent
It doesn’t matter if it’s sunny, rainy or overcast – just make sure whatever lighting you’ve got, is consistent across the car and your chosen backdrop.
That means no parking the car half in the sun and half in the shade; no parking under the shadow of a tree; no parking under the shadow of a pole or sign. And watch out for your own shadow. Shadows equal bad – unless the whole car, and scene, is in a shadow, like the shade of a giant building.
Of course, if you want to go full Annie Liebovitz, and if it’s a fairly clear evening, aim to take photos of your car around sunset or dusk in the beautiful, soft, fading light. It will make your car look about twice as desirable as taking photos in the middle of the day in harsh, broad daylight.
Dubbed the “golden hour”, taking photos just after sunset has been a trick of professional automotive photographers for decades.
The main thing is, whatever light you use, you just want it to be even and consistent.
4. Take photos of everything
So your car is sparkling, you’ve found a nice plain background in a quiet spot where nobody will bother you or run you over, and the light is looking nice and even.
You’ve made sure all the windows are up, that the wheels are pointing straight or on a nice angle for that side shot, and the headlights are off (another little trick of the trade, it just looks a bit better. Daytime Running Lamps – the bright LEDs at the front of the car that can’t be turned off – are, of course, okay).
Remember if you’re using your smartphone to turn it sideways into landscape mode and turn the flash off – au naturel is best.
You want to get the following angles, and it might mean moving the car around:
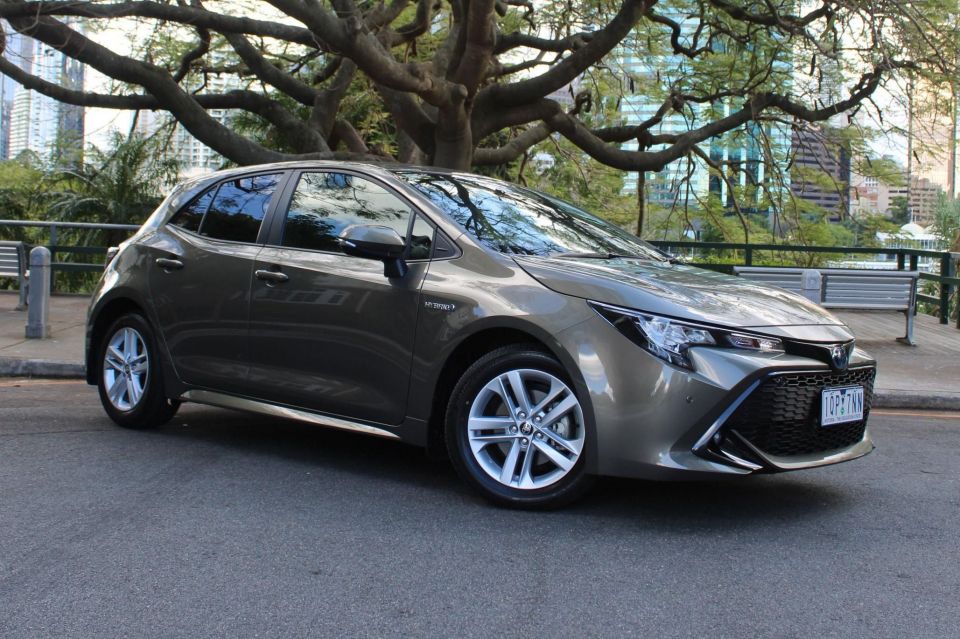
Front three quarter. Park the car in front of your chosen background at a 45-degree angle. Make sure the car is in the centre of the frame, and fills the frame with a bit of space around it. Move closer or further away as needed.
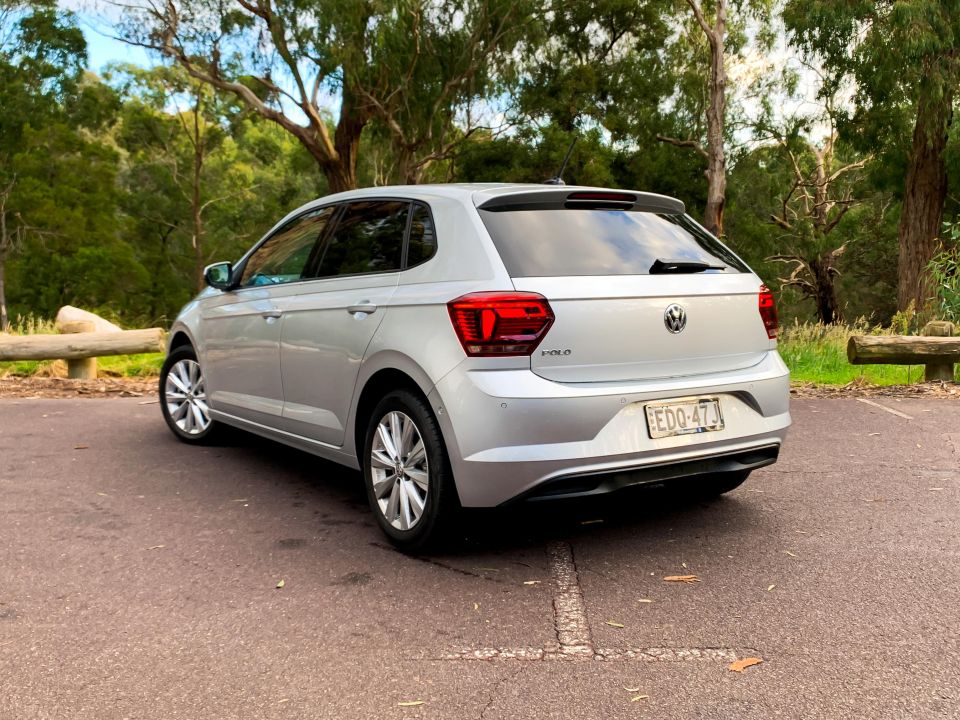
Rear three-quarter. Same as above, but the rear on a 45-degree angle.
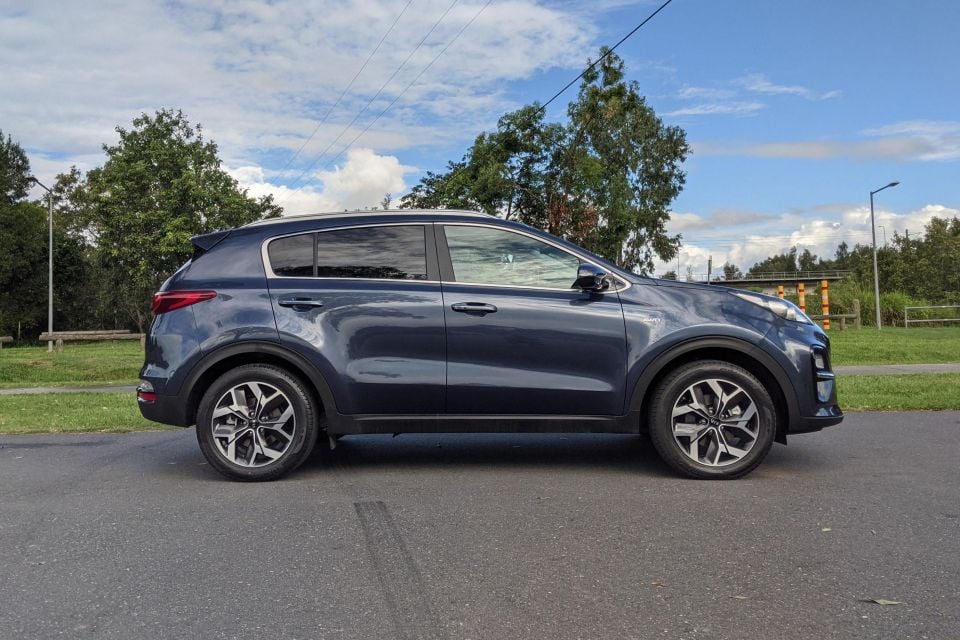
Side profile. Take a photo of both sides of the car, showing the entire car. You might have to go back a bit.
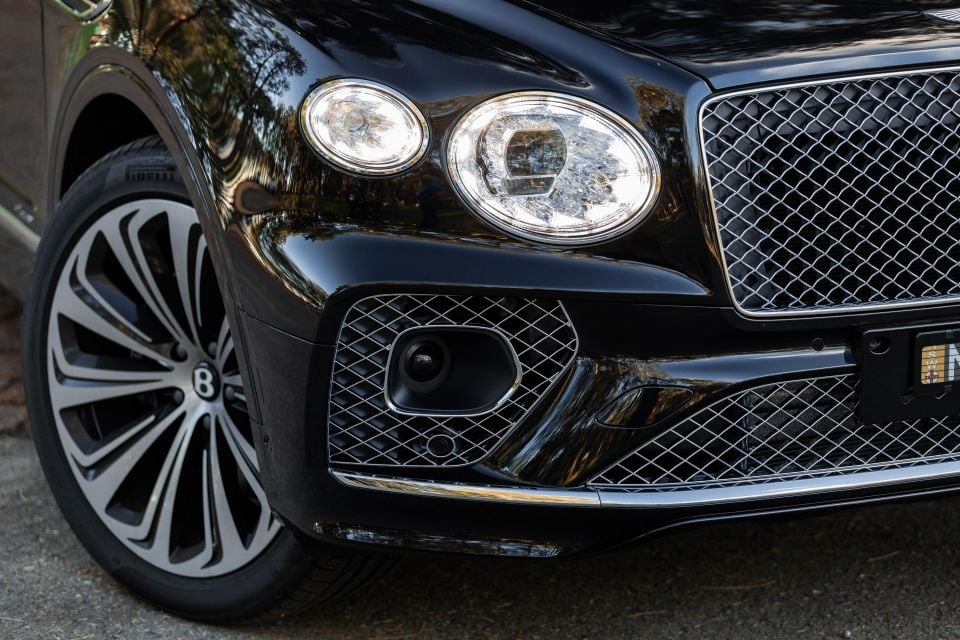
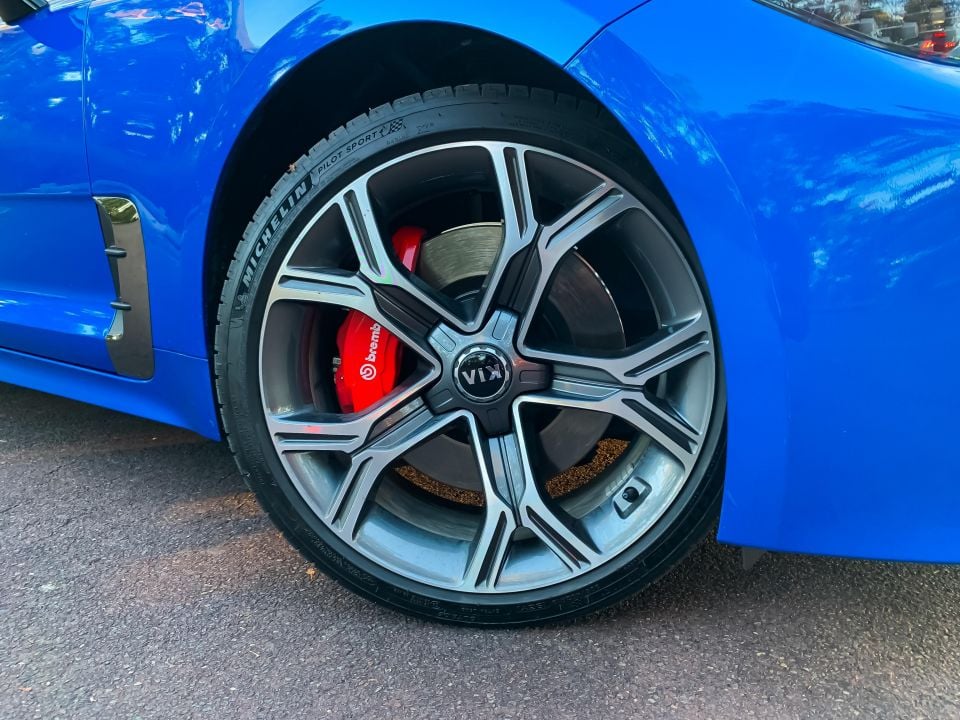
All four wheels. Squat down and make sure the centre of the wheel is in the centre of your shot.
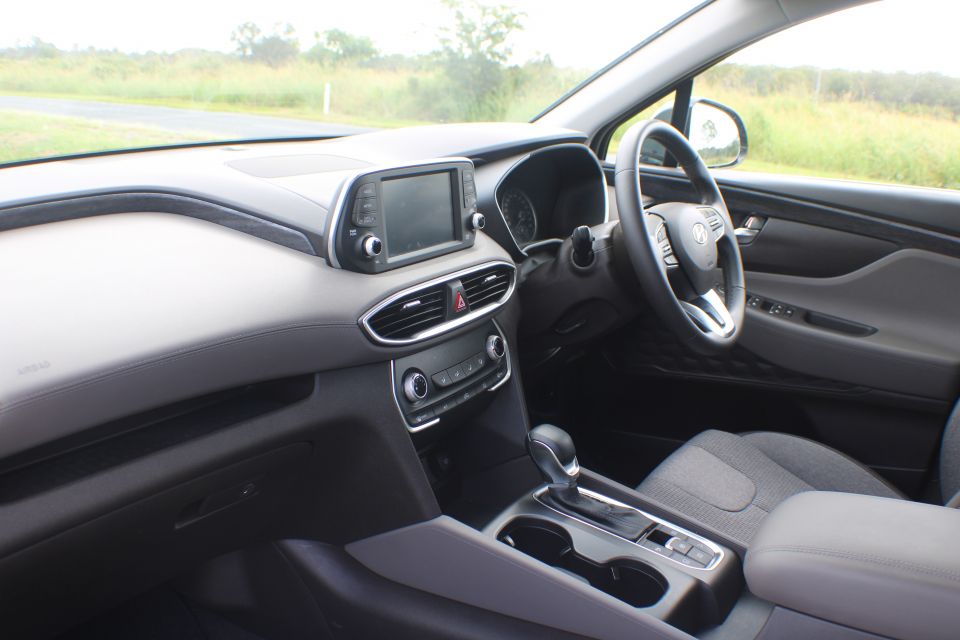
The front seats and dashboard. Make sure the front seats are even (move them forward and back, and adjust the backrests as necessary).
Rear seats. Self explanatory. A shot through the open rear door is all you need.
The boot. Also self explanatory. If you can, lift up the floor and get an extra shot of the spare wheel or the puncture repair kit. Take a photo of the tub if it’s a ute, of course.
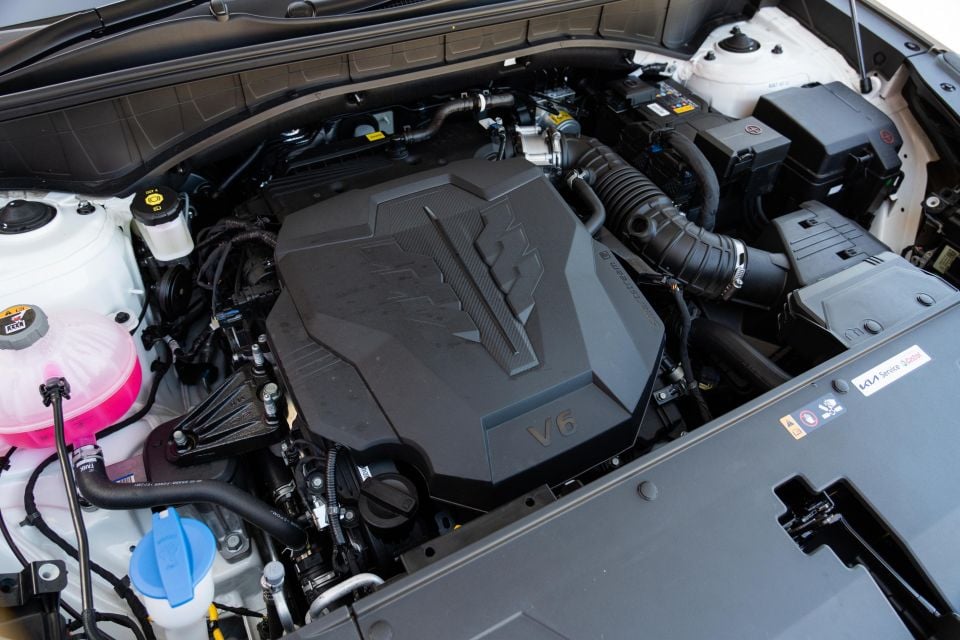
Engine bay. Open the bonnet and take a photo of the engine from at least two angles. This one is optional – if the engine bay is filthy, best to just pass.
The paperwork. Get the user manual and service logbooks out of the glovebox – if you have them – and lay them out on the passenger seat with whatever keys and fobs you have for the car. This is a shot that adds value and instils confidence.
Any damage to the exterior or interior. Just take nice, clear photos – it doesn’t have to be art.
Anything else you think important. There’s no harm in taking too many photos and of too many things. A prospective buyer might request extra photos before viewing the car, and it will be annoying to take them. Best to do it all at once.
5. Upload them in logical order
Just upload your photos in the order as above as this is how people like to browse a car in real life.
Uploading the photos of damage is recommended. It’s best to be honest in the ad, rather than surprising people who’ve come to see the car. It will waste both your time and the buyer’s time not having the damage clearly detailed.
And there you have it. You’re an automotive photography genius – and you’ll hopefully make an extra couple of hundred dollars, or even thousands, because of it.
10 bonus car photography tips
If you want to sell your car, get in touch with a CarExpert New Car Specialist on 1300 587 992.
Damion Smy
2 Hours Ago
Damion Smy
2 Hours Ago

Derek Fung
4 Hours Ago

Matt Robinson
11 Hours Ago
Damion Smy
18 Hours Ago


William Stopford
20 Hours Ago
Add CarExpert as a Preferred Source on Google so your search results prioritise writing by actual experts, not AI.